Some History
Back in the mid-90s, Microsoft engineers faced a problem: they were releasing software faster than they could secure it. Bugs could be patched, but design flaws? Those were baked into the system.
In 1999, Loren Kohnfelder and Praerit Garg at Microsoft wrote a paper that quietly kicked off a new way of thinking – threat modelling. Instead of waiting for hackers to find weaknesses, what if developers could predict them while still sketching the architecture?
To do that, they leaned on a trusty diagramming method borrowed from system design – the Data Flow Diagram (DFD). DFDs weren’t new (they’d been around since the 1970s as a way to map how data moves through systems), but applying them to security was fresh. Suddenly, those arrows and circles weren’t just about showing where data went – they became clues about where attackers might slip in.
A few years later, another breakthrough came with the STRIDE model. It turned the abstract idea of “think like an attacker” into something practical. Each letter stood for a category of threat: Spoofing, Tampering, Repudiation, Information Disclosure, Denial of Service, and Elevation of Privilege. Instead of staring at a diagram and wondering, “what could possibly go wrong?”, STRIDE gave developers a structured lens to spot risks they might have overlooked.
Of course, Microsoft wasn’t the only one experimenting. Around the same time, the Trike methodology appeared, focusing on risk assessment. Later came PASTA (Process for Attack Simulation and Threat Analysis), a seven-stage framework that treated threat modelling like running a security “movie script.”
In the last decade, tools started appearing to make threat modelling more approachable: Microsoft’s own Threat Modelling Tool, commercial platforms like IriusRisk, and importantly for us, open-source alternatives.
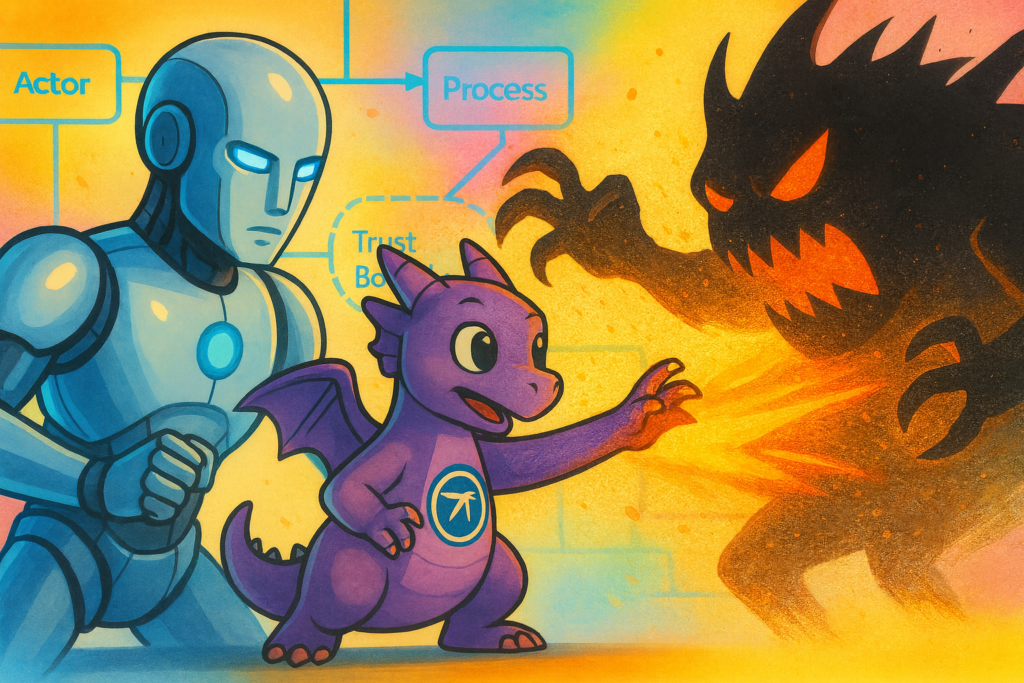
That’s where OWASP Threat Dragon comes in. Instead of being locked to Windows or needing a pricey license, Threat Dragon is free and designed with modern developers in mind. It lets you draw DFDs, apply STRIDE or other framework, and keep your threat models version-controlled alongside your code. In a way, it’s the community’s answer to the early Microsoft tools – taking the same core ideas but making them open and accessible to everyone.
I believe now is the right time to add a new step to this history: using Artificial Intelligence. But before we get there, let’s begin by creating the Data Flow Diagram.
The OWASP Threat Modelling Process and What This Article Covers
OWASP describes threat modelling as a way to answer four key questions:
- What are we building?
- What can go wrong?
- What are we going to do about it?
- Did we do a good enough job?
This framework keeps things simple. You don’t need to memorize dozens of methodologies; you just follow these four questions. But can you use Artificial Intelligence to help answer them? Let’s find out.
Step 1: What are we building?
This is about defining scope and understanding your system. In practice, you map out the architecture- users, data stores, services, and how they connect.
- In Threat Dragon: You create a new model and start drawing your Data Flow Diagram (DFD) using drag-and-drop elements. Circles for processes, rectangles for external entities, and arrows for data flows. This becomes your “blueprint.”
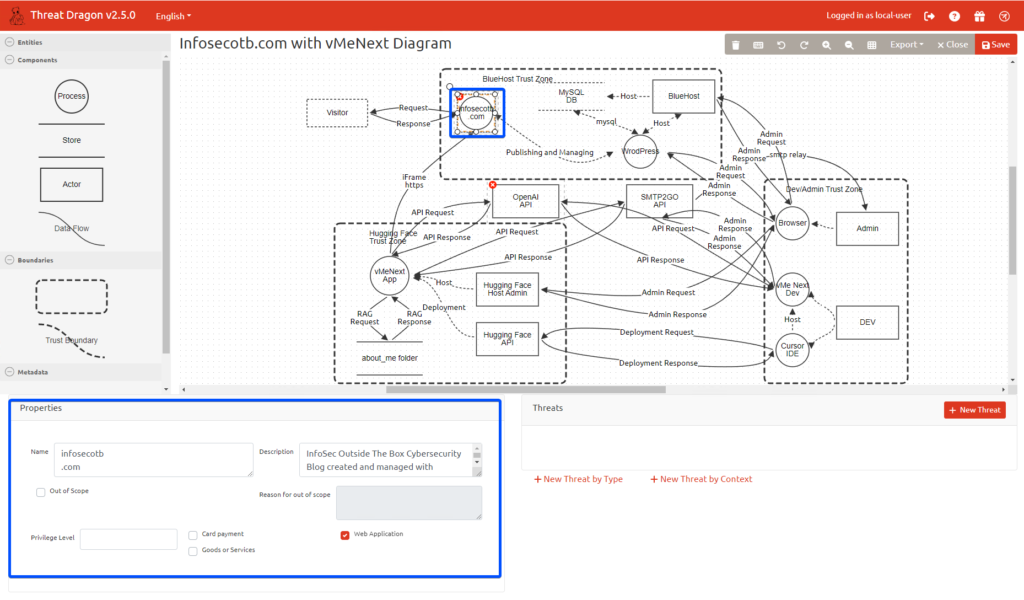
- In this article: I will create a DFD of my infosecotb.com blog and AI chatbot application using OWASP Threat Dragon and provide step-by-step instructions.
Step 2: What can go wrong?
Once you have the blueprint, you look for threats. Instead of guessing randomly, OWASP encourages structured thinking – often with models like STRIDE. This is the hard part, requiring creativity and domain knowledge. Sometimes gamification helps; a good example is the OWASP Cumulus card game.
- In Threat Dragon: After drawing your diagram, you add threats to its elements. You can use Threat Dragon’s built-in suggestions or add them manually.
- In this article: After creating the DFD, I’ll use a Python app I built myself, combined with AI, to analyse it, generate threats, and push them into the Threat Dragon .json file..
Step 3: What are we going to do about it?
Not every threat is equally critical. Some are easy to fix, some unlikely, and some may already be mitigated. Here you prioritize and define countermeasures.
- In Threat Dragon: You can attach notes or countermeasures directly to each identified threat. For example, if the tool suggests a “tampering risk” on a data flow, you might document “apply TLS 1.3 encryption” as the mitigation.
- In this article: While generating threats, the Python app I created will use AI to suggest mitigations and drop them straight into the model.
Step 4: Did we do a good enough job?
Threat modelling is not a one-time exercise. You revisit the model, update it when the system changes, and review whether your mitigations are effective.
- In Threat Dragon: The threat model should be reviewed by all stakeholders, not just developers or security teams.
- In this article: I plan to use AI-based tools to validate the threat model and generate detailed reports – maybe even compare outputs from different LLMs. For that, I’m planning to put together another Python app just for validation and reporting.
Creating a Data Flow Diagram with OWASP Threat Dragon
OWASP Threat Dragon is a free, open-source tool designed to help users create threat models and DFDs to identify security risks. Whether you’re securing a home lab or a professional application, Threat Dragon’s intuitive interface makes it easy to map out data flows and threats.
Here’s a practical guide to building a DFD with Threat Dragon:
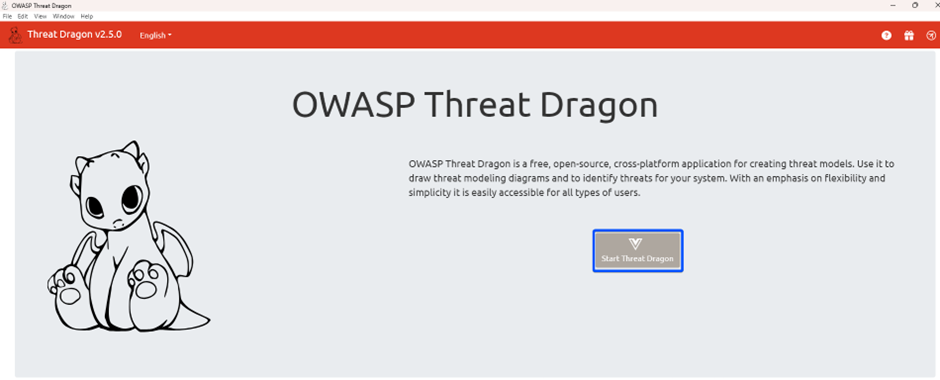
Step 1: Getting Started with Threat Dragon
You have two options to get started, depending on your preference:
- Desktop version: Download the installer from the Threat Dragon GitHub Releases page and install it on your operating system (Windows, macOS, or Linux).
- Web version: Use threatdragon.com for instant access without installation.
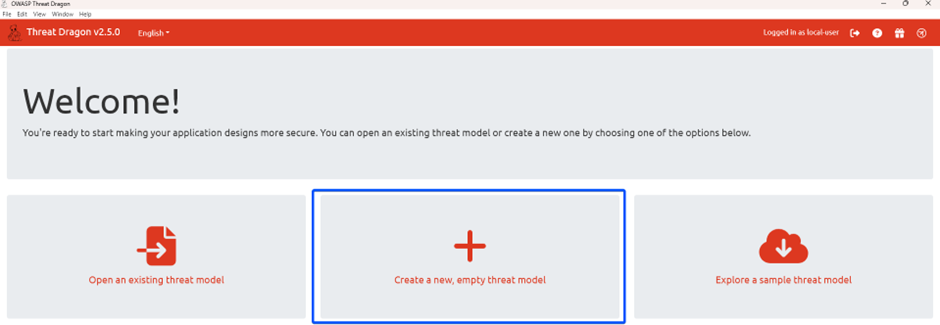
Step 2: Creating a New Threat Model
When Threat Dragon launches, select “Create a new, empty threat model.”
Fill in the dialog:
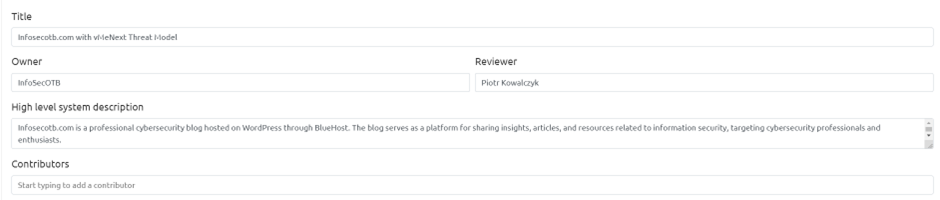
Click Create to open the threat model editor.
Step 3: Adding a New Diagram
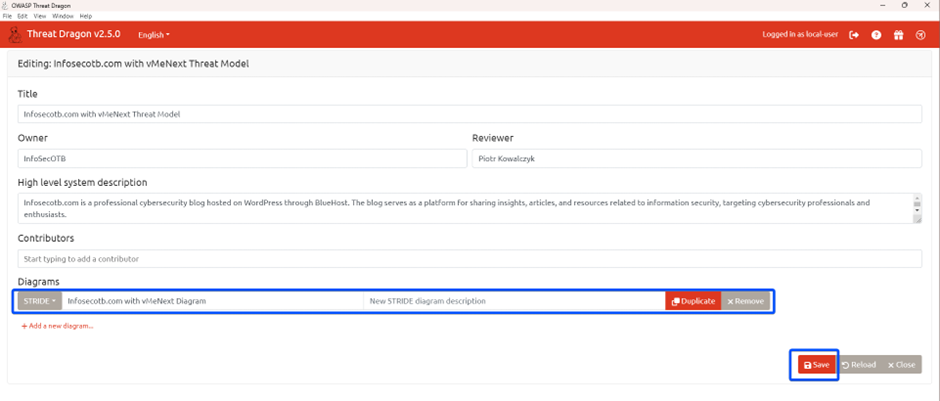
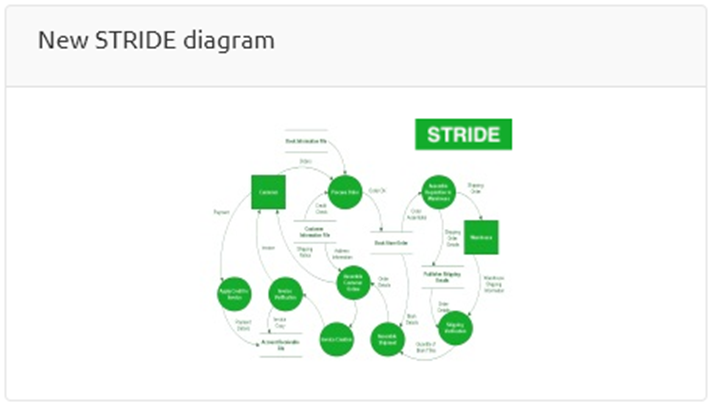
In the editor, click “Add a new diagram” and give it a name. Choose a framework like STRIDE. This creates a blank canvas.
Save it, then reopen the diagram to start editing.
Step 4: Building the DFD
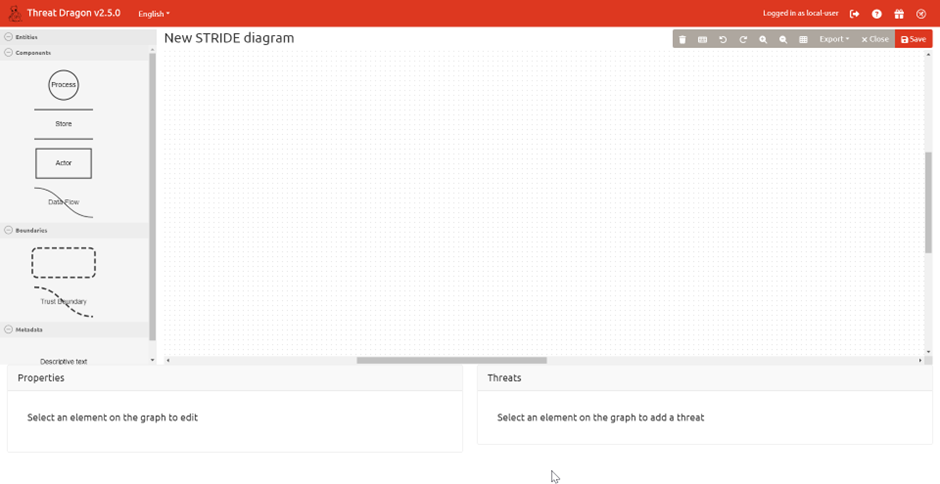
The editor’s sidebar includes components to construct your DFD:
 Actors – external entities (e.g., users, admins)
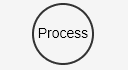 Processes – system functions (e.g., authentication)
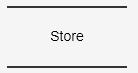 Data Stores – storage (e.g., databases, caches)
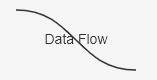 Data Flows – arrows showing movement of data
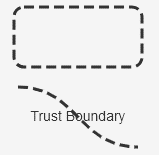 Trust Boundaries – zones dividing secure and insecure areas
Adding Components
- Actors: Drag rectangles from the stencil to the canvas. For a trading app, add actors like “Visitor,” “Dev,” and “Admin.” Click each to open the properties pane and set details, e.g., “Visitor: Visitor connecting to infosecotb.com using a browser”
- Processes: Drag circles to represent system actions. Add processes like “Web Server”, “Application”.
- Data Stores: Drag parallel lines for storage. Examples include “Database” and “folder”
- Data Flows: Drag arrows to connect components, showing data movement. For example, connect “Visitor” to “Web Server” with a flow labelled “Request” and “Response”
Example: Infosecotb.com DFD
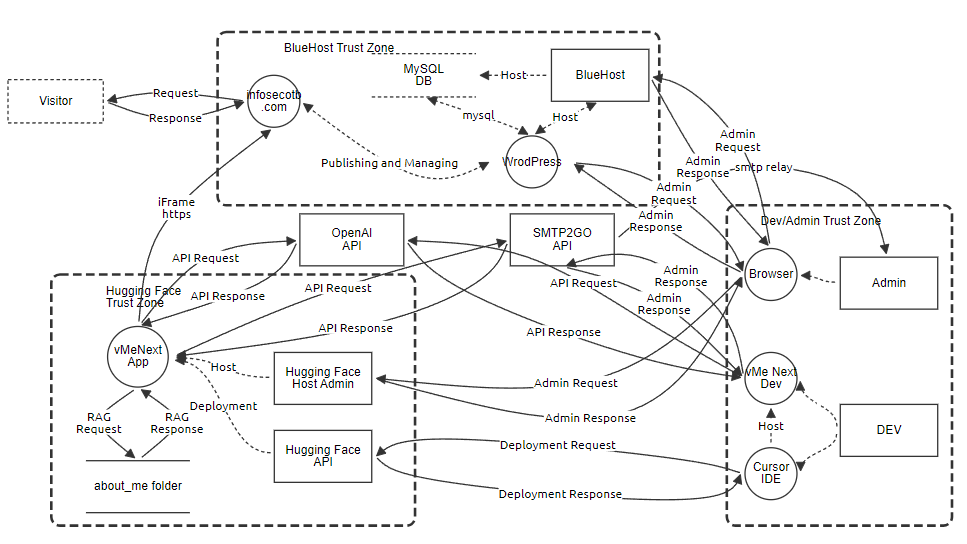
Here’s the DFD I created for my blog infosecotb.com and the vMeNext AI-powered chatbot. It will be used for AI-based threat analysis, which I’ll describe in Part 2.